
Search term must have more than 2 characters.
Perhaps you would say at first glance that interest in candles is a thing common among the weaker sex. However, it is true that the production of candles is a manlike skill that dates back to times thousands of years ago. Especially in the Middle Ages, the candle trade was an important part of life in cities and villages...
Perhaps you would say at first glance that interest in candles is a thing common among the weaker sex. However, it is true that the production of candles is a manlike skill that dates back to times thousands of years ago. Especially in the Middle Ages, the candle trade was an important part of life in cities and villages. After all, light was and is extremely important to us.
Nowadays, candles are no longer so important, but they can establish a pleasant atmosphere and, if they have an added odour, they will scent any room. Many people use candles to meditate or contemplate. There are a lot of people who keep them at home as an emergency light source in case of apocalypse.
However, candles can be relatively expensive...
If you start the production of homemade candles, you will find that this is a very simple process (especially today) that does not cost money and time. Well, it is also a great handicraft gift for your loved ones.
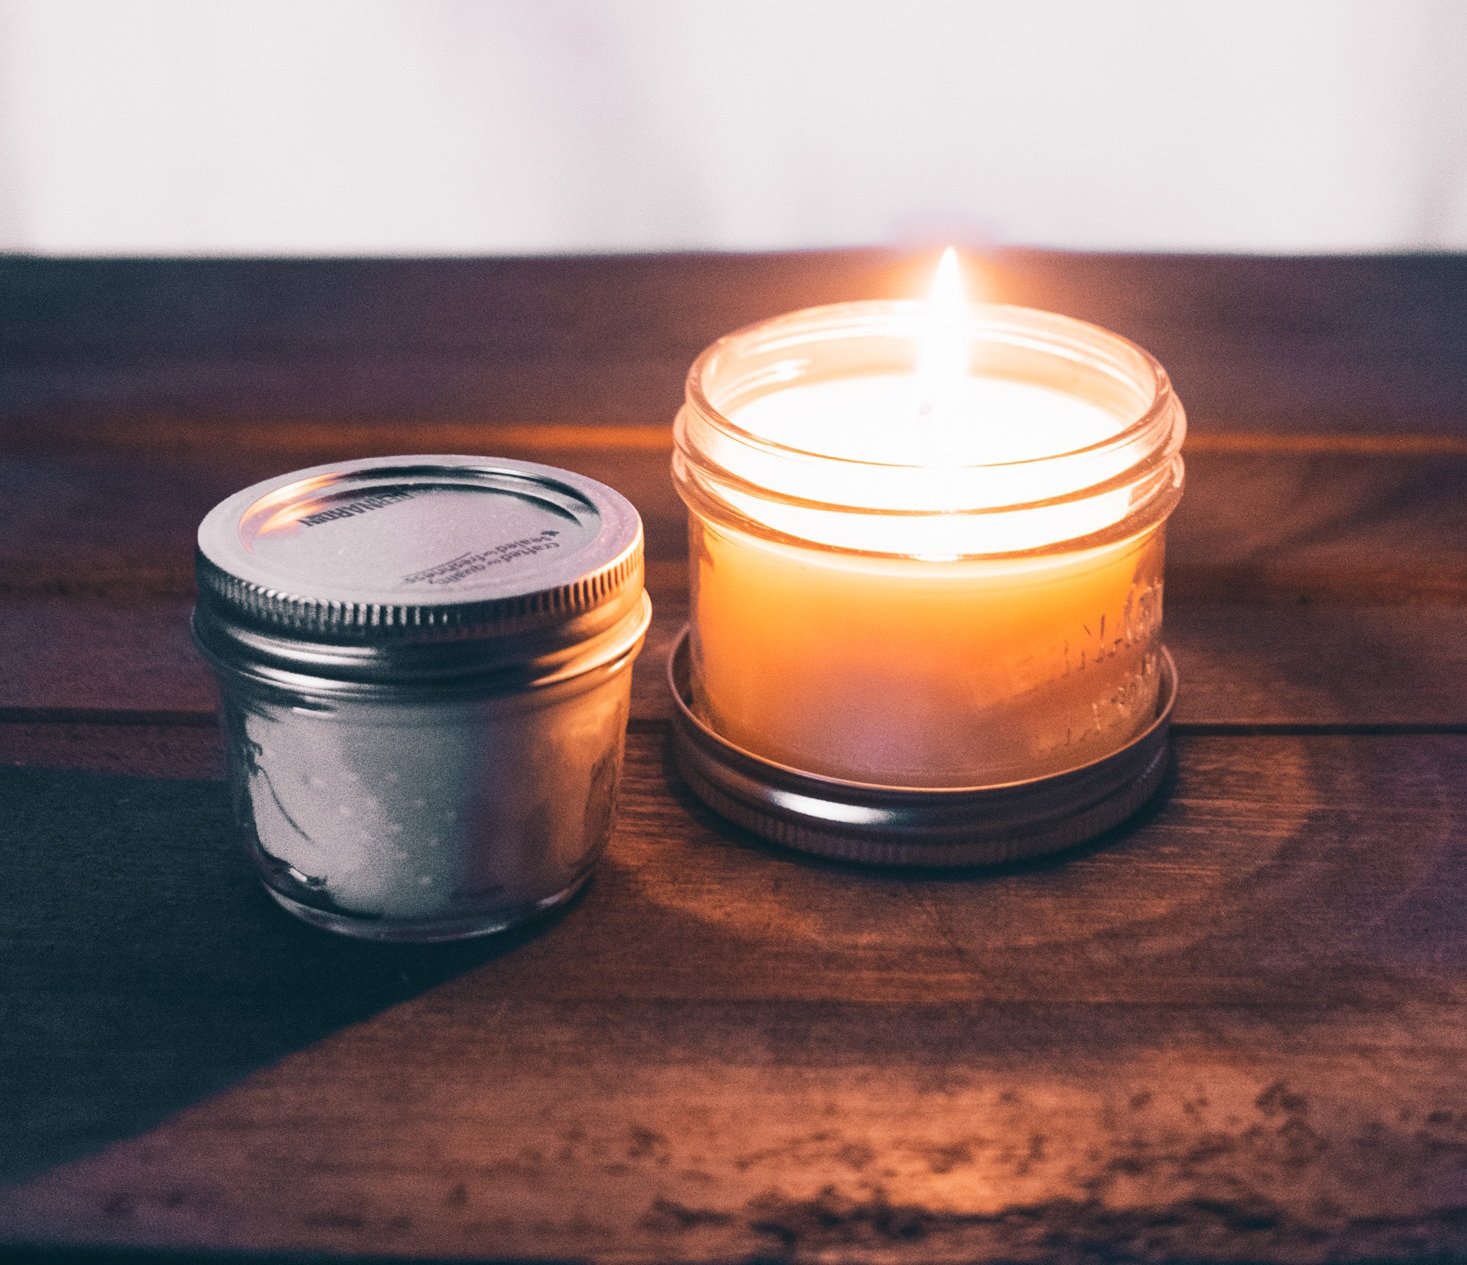
There are many types of candles, but in today's manual, we will look at those that burn in some type of container. Such candles are very simple to make, you do not need moulds or specialised tools. Just get some unused mugs, glasses, etc. to get it done.

What to buy?
In order to start making candles, you first need a couple of things and tools. Do not worry, it does not cost a fortune, once you have everything you need, one candle will be worth a few crowns.
Wax
Wax is logically the foundation of a candle. You can primarily choose from three basic types.
Paraffin: A relatively traditional material which is popular for making candles. It is cheap and very easy to absorb colours and odours. The main problem with paraffin is its potentially toxic nature. Paraffin is also obtained from the distillation of crude oil, which means an automatic stop for people who prefer only natural products. If you belong to them, look at the alternative.
Soya wax: A "newcomer" among waxes, becoming more and more popular. It was created in the 1990s when ecology started being dealt with to a greater extent. It is usually made from soya oil, sometimes mixed with paraffin and other waxes. It also perfectly absorbs colours and aromas.
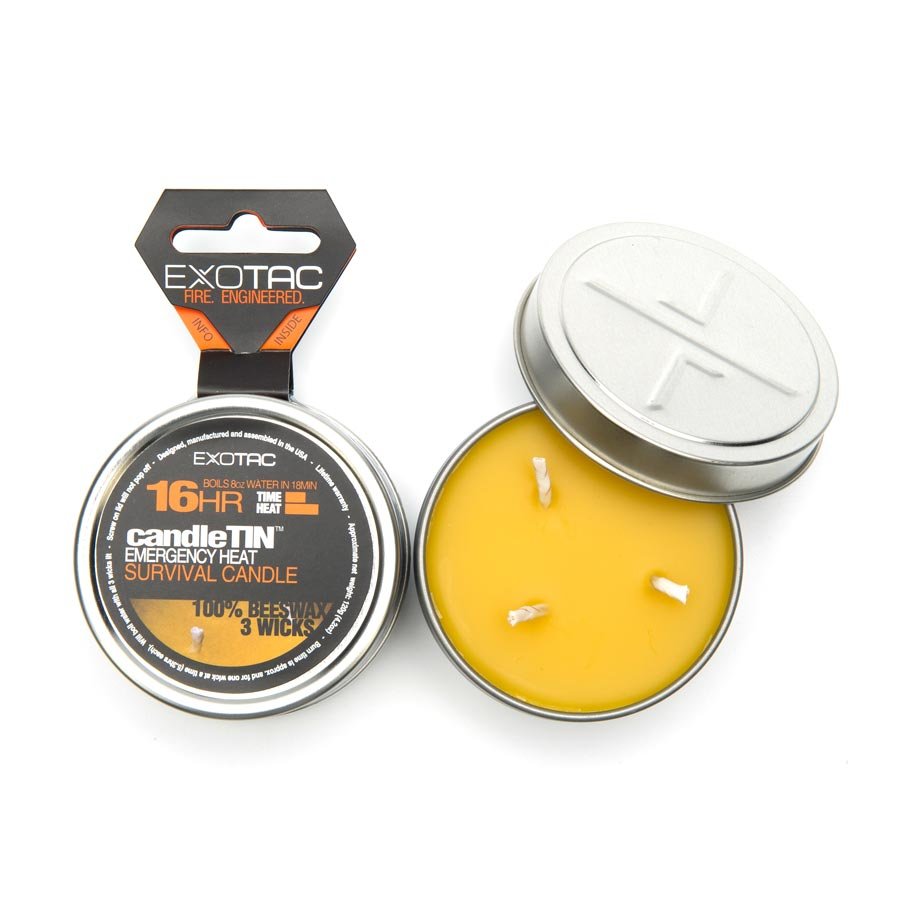
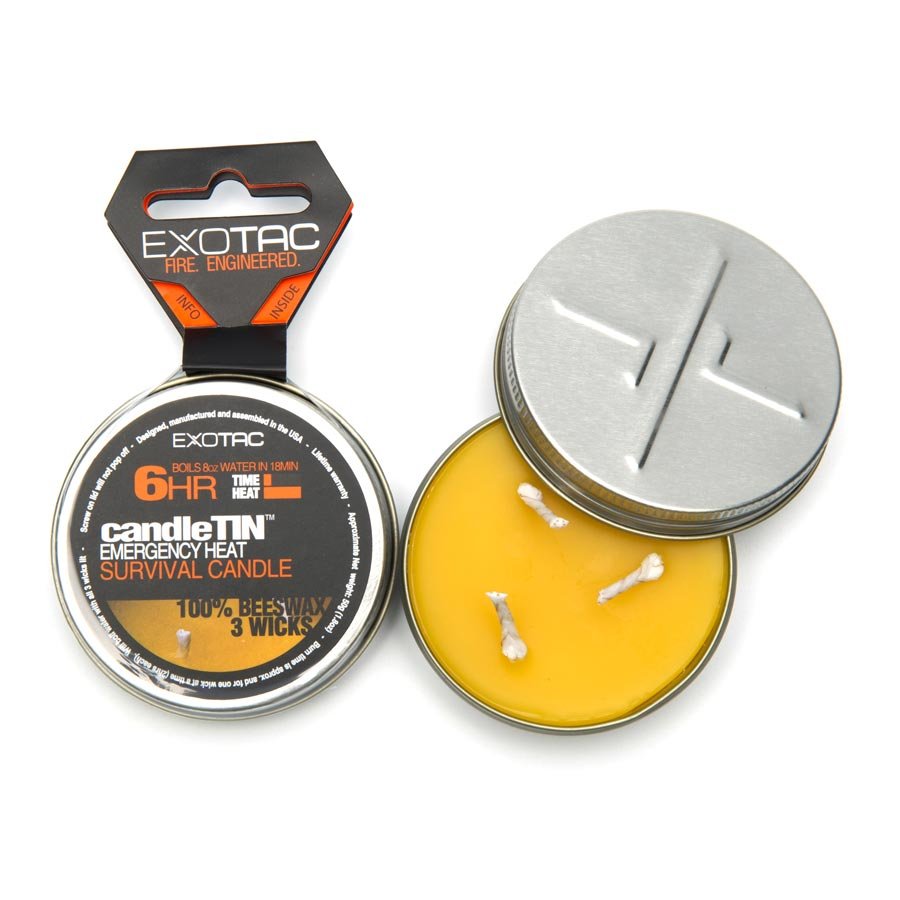
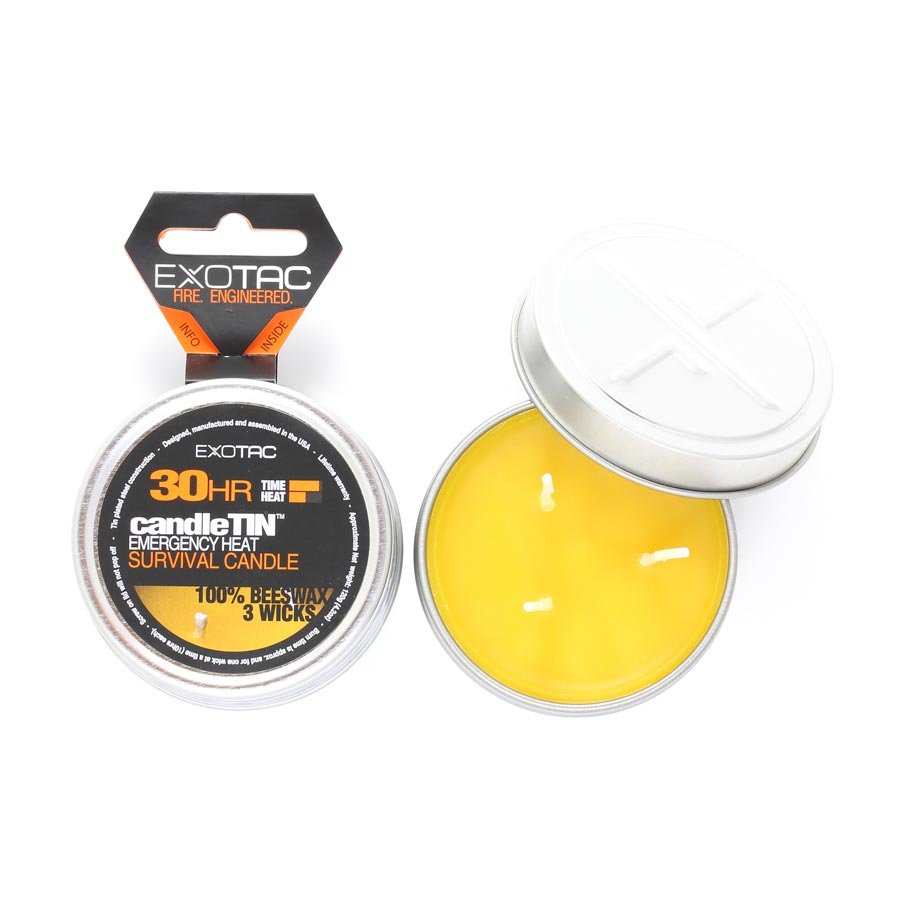
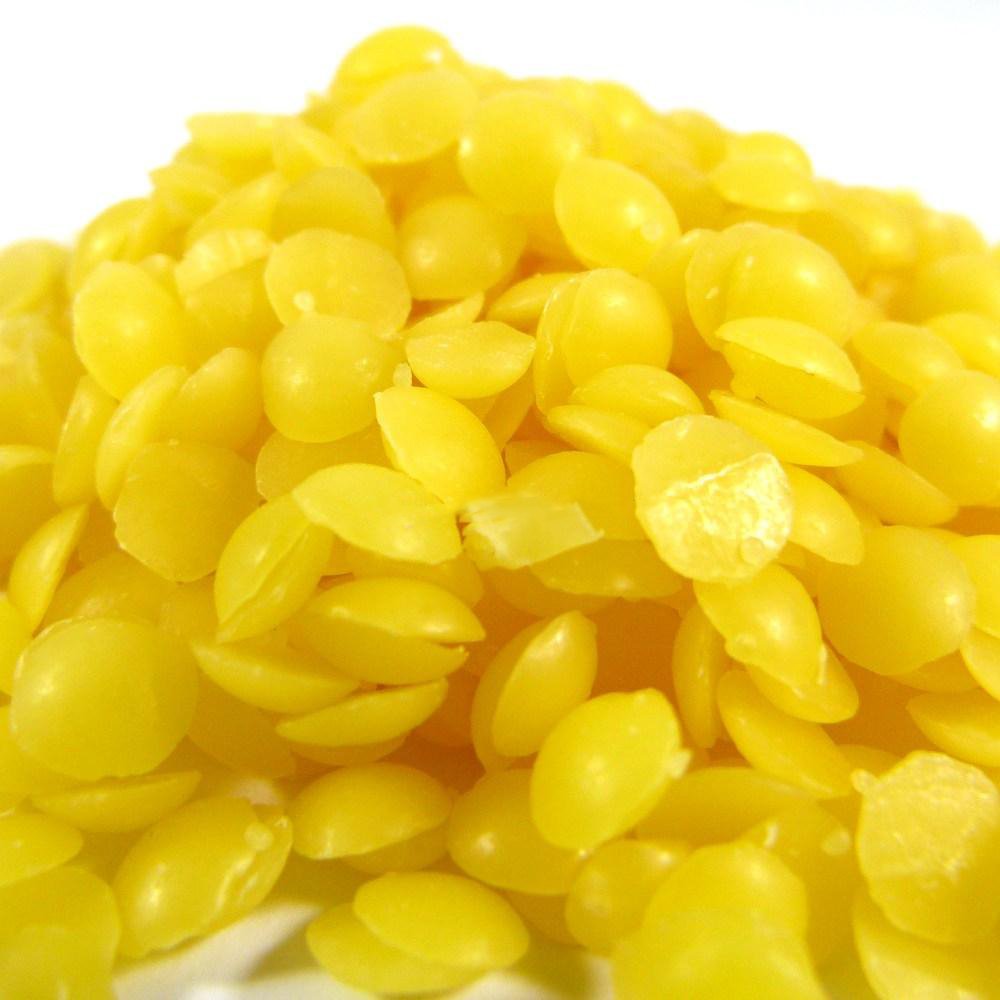
Beeswax: The oldest ingredient for the production of candles. In fact, beeswax was found in the graves of the large pyramids in Egypt. As the name suggests, it is produced by bees as a by-product of honey production. Thanks to this, it has a beautiful golden colour and sweetish odour. The problem with beeswax is that it improperly absorbs other ingredients. It is also more expensive than the other options.
You can get most of the waxes that are sold for the production of candles in a granular form, these not only improve handling, but also solubility. If you receive the wax in the form of a compact block, cut it with a sharp knife into smaller pieces.
Wick: A bad wick may destroy your candle instantly. Mainly concentrate on the wick width, look for wider pieces if possible. The length does not matter, you will also adjust it to your container.
Aromatic oils: Without aroma, you will basically only burn wax. It looks nice, but it does not create a pleasant aroma which is the reason why candles are sold today. You literally have thousands of different aromas to choose from, just look on the Internet. You may also use the essence oils. We would recommend the aroma of sandalwood, rum, or coffee.
Two pots: You must definitely not dissolve any wax on an open fire. Use the classic trick that you can also use when you dissolve chocolate. Prepare a pot, fill it with water and bring it to a boil. Place another container on the pot and dissolve the wax in it.
Candle containers: There is no limit to imagination here. Coffee cups, glasses, jars, simply anything that can stand heat and contain the wax dose.
Thermometer, wooden spoon, and old pens: A thermometer is logical, you simply want to know how hot the wax is. In addition, each wax has a different temperature when it is appropriate to add aroma, colours, and to pour it into the prepared containers. Use a wooden spoon to mix and “crush” large pieces of wax. And pens will be needed when dealing with the fastening of the wicks.
How to do it?
1. Prepare a working desk
Working with wax can be a relatively dirty job. The drops can practically reach everywhere and you will not know until the wax has dried. So, place some cloths and old newspapers around your desk. If the drops get somewhere on the desk, simply scratch them, for example, with a nail.
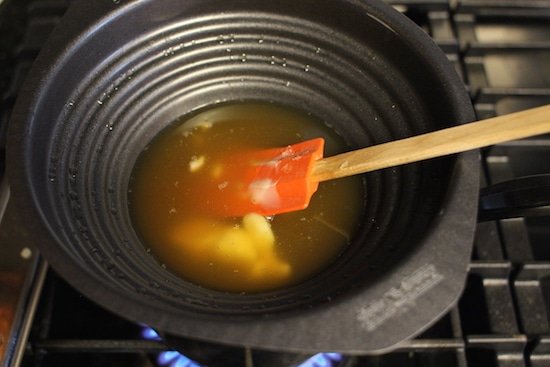
2. Melt the wax
Use two pots to melt the wax. Start with 200 g of wax, it should be enough for a relatively large glass. The wax will dissolve in approximately 10-15 minutes. Be sure to monitor the temperature, ideally it should be about 75 degrees as the maximum. If you exceed it, reduce the flame and/or take the bowl off the stove. Be sure to keep mixing the wax during dissolution!!
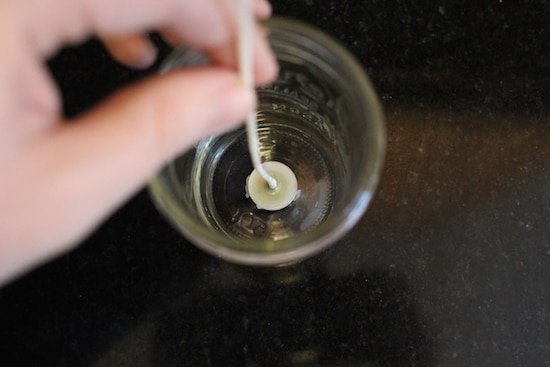
3. Place the wick in the container
While the wax is melting in the pot, add the wick to the prepared container. Sometimes you can buy a wick with glue at the end, but you will have to do it yourself. One option is using instant glue, but there is another good old trick when you wet the end of the wick while cooking it in the melting wax, it will attach your wick to the container after a few minutes.
4. Add aromatic oil
After the wax has been completely dissolved, add your favourite aroma. Each type of wax is a little different and needs different amounts of aroma, follow the instructions you should receive when purchasing. If instructions are not available, 30 ml of aroma for 500 g of wax should certainly be OK. Thoroughly stir the aroma into your product.
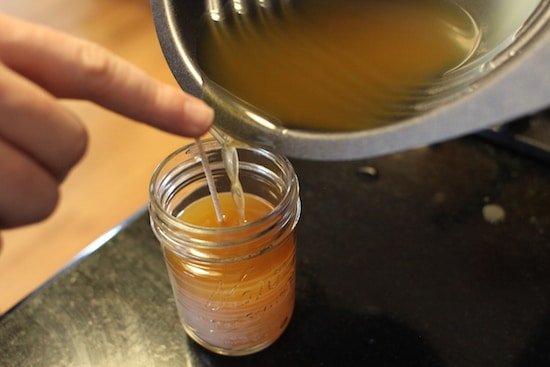
5. Pour the wax into the container
After adding the aroma, switch off the heat source and allow the wax to rest for a few minutes. The ideal temperature for pouring into the container should be somewhere around 55-60 degrees. It takes a few minutes to achieve this temperature, definitely check the wax using a thermometer.
When the wax has been poured, keep the wick nicely in the middle of the container. Do not pull the wick too hard so that it does not become released from the bottom of the container. The wax should be hardened plus or minus five minutes. Do not pour in all the wax, keep some for later use.
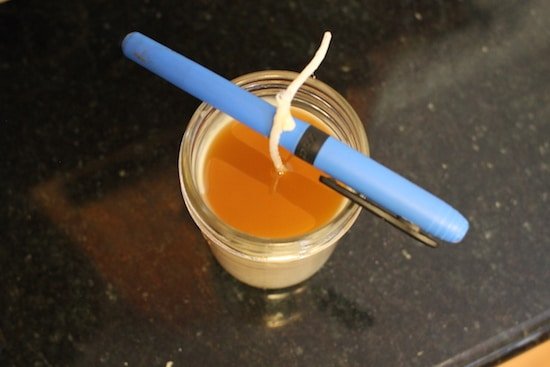
6. Fix the wick
Initially, the wick may move spontaneously in the wax. But, of course, you need it to stay nicely in the middle during hardening. For this purpose, you can use an old pen (or something similar) that you place on the top of the container and fix the wick around it for a few hours.
7. Allow it to cool out
Leave the wax cool in the container for a few hours. It is quite possible that after these few hours, you will find some cracks and unevenness in your candle. To get rid of them, heat the rest of the wax from the previous pouring and smooth out the inequality with this fresh wax. After this dose of wax has cooled, shorten the candle wick to be about half a centimetre long.
Then just enjoy the result of your work!
News

Bug out bag
In today's article, we will look at how to create an evacuation bag that will serve when you must leave your home unexpectedly, whether due to natural disasters or humanity. This luggage should help y

How to make a compass?
A compass is a valuable aid for every adventurer who likes to enjoy nature on their own. In addition, it is a basic instrument that makes it easy for the adventurer to find a journey home...

Basics of putting clothing on in layers in cold weather
It is getting cold outside and many of you are certainly planning a number of winter and autumn field trips. In today's short article, we will look at the basic system of three layers which should kee

How to choose a sleeping bag?
A properly chosen sleeping bag can make the difference whether you spend most nights beneath the stars in a pleasant, warm comfort, or in unpleasant cold. To make the choice a little easier, we have w